
Alright, let’s talk about something that had me scratching my head for a bit in Gran Turismo 7: getting parts off a car after you’ve put them on. Seems simple, right? Well, it wasn’t immediately obvious to me, so I thought I’d share how I figured it out.
My First Attempts – Looking in the Obvious Places
So, I’d bought a few upgrades for one of my rides from the Tuning Shop. A new exhaust, maybe some suspension bits. Later, I wanted to try the car without those specific parts, maybe to test something or just go back to a lower PP level. My first instinct was to head right back to the Tuning Shop.
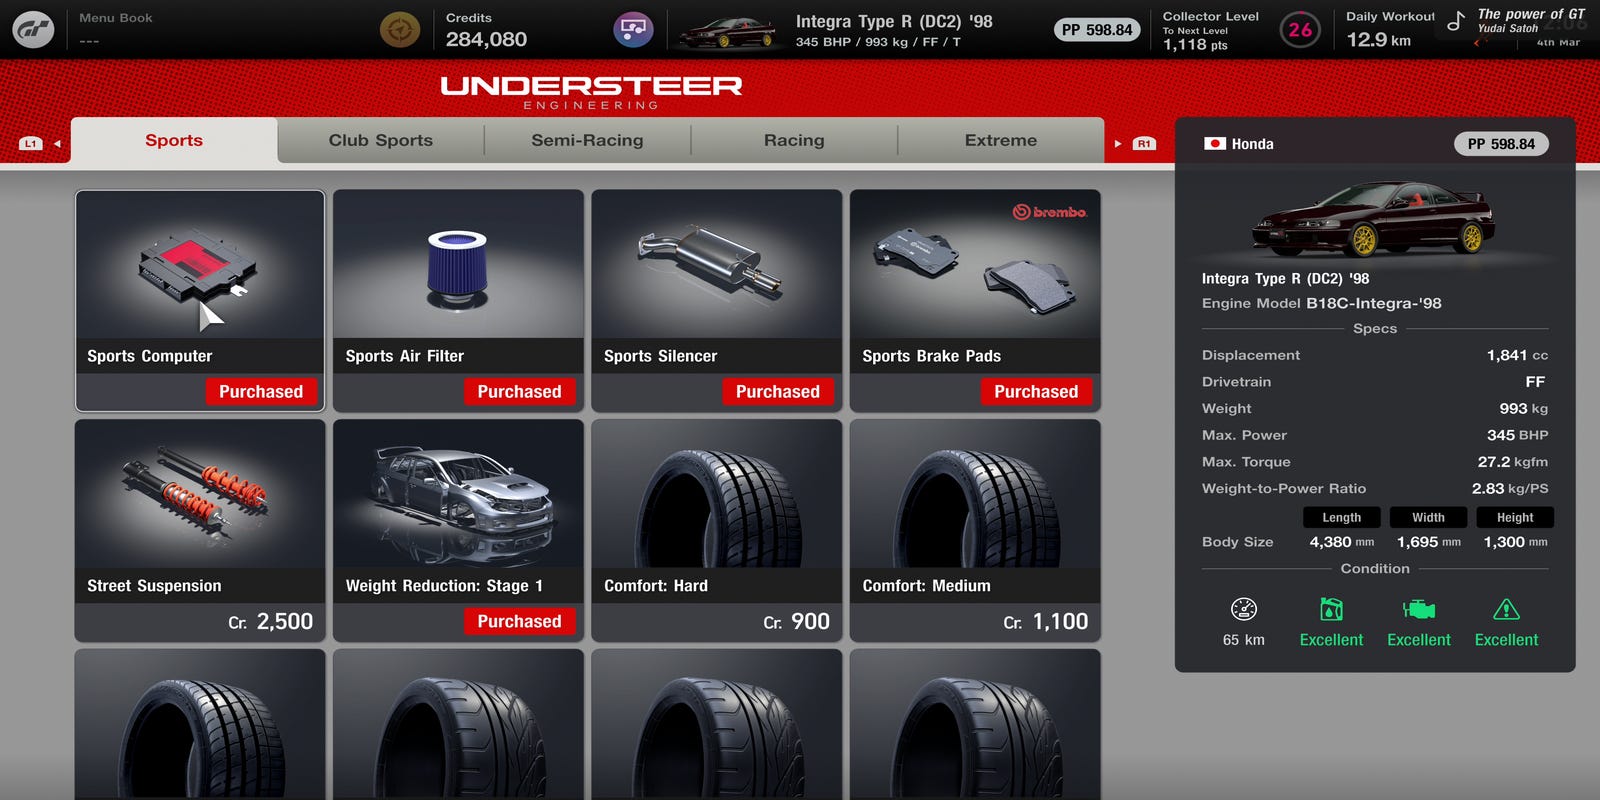
I went in, found the category for the part I wanted to remove, but… there’s no ‘remove’ button. You can buy parts, and if you buy another part in the same category, it replaces the old one. But taking it off completely? Didn’t see an option there. I thought maybe I missed something obvious, clicked around a bit, but no luck.
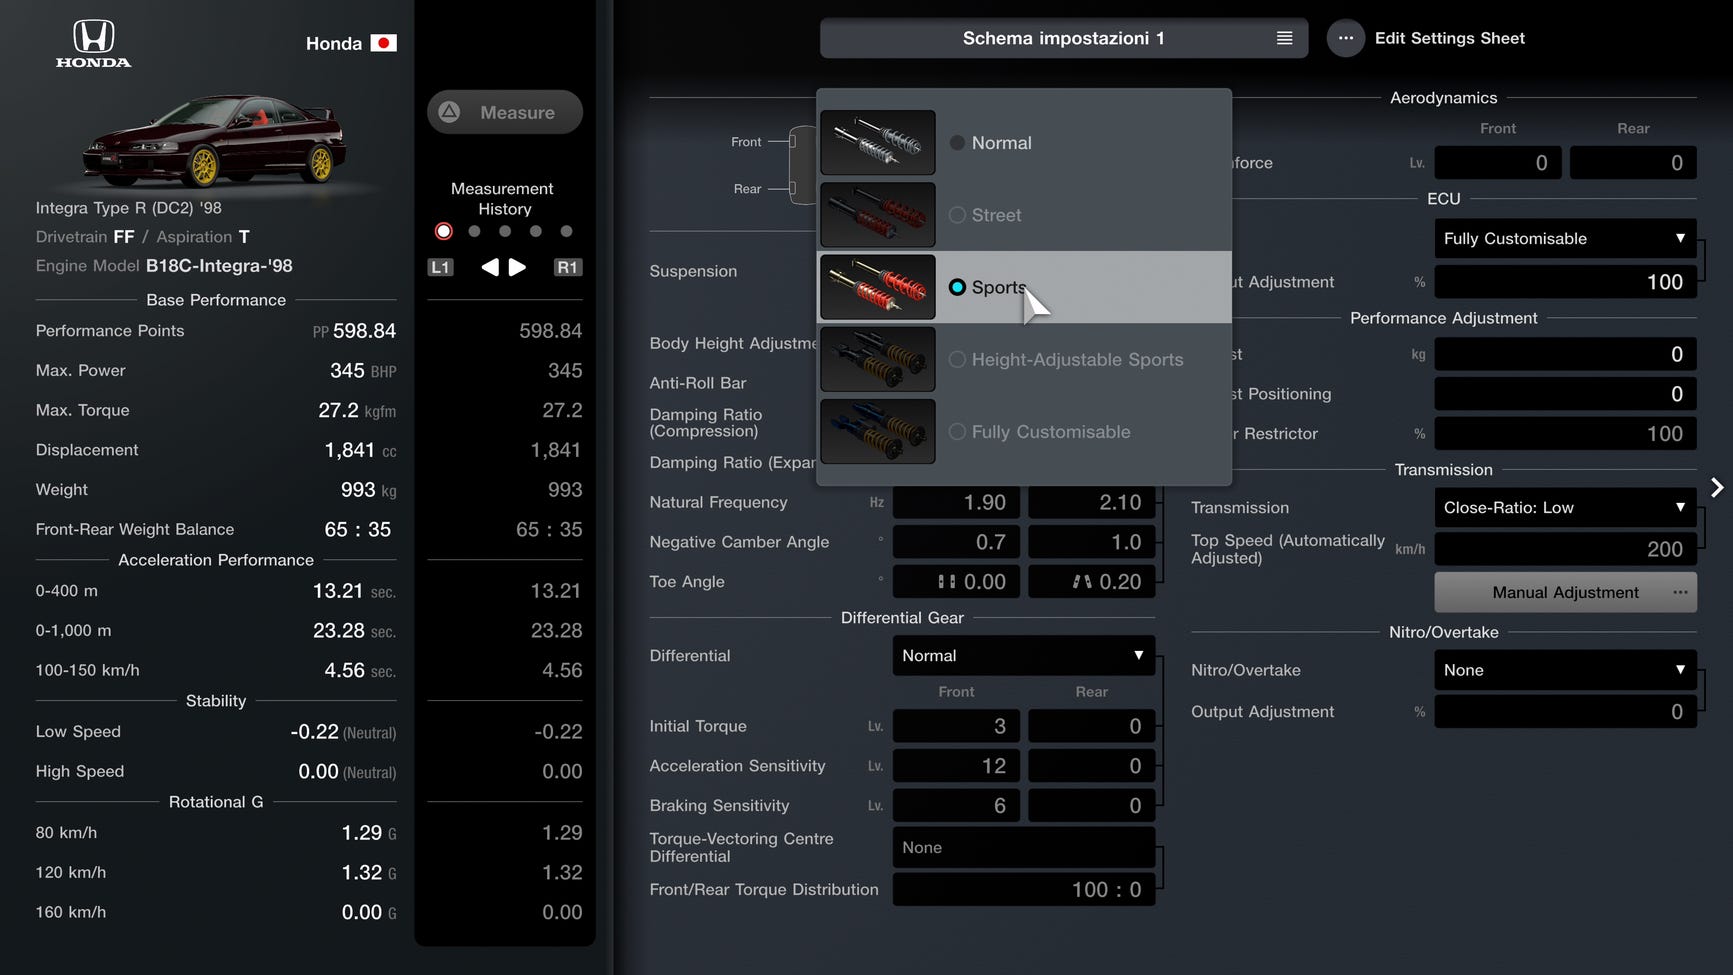
Next, I figured, okay, maybe it’s in the Garage settings for the car itself. So I went back to my Garage, selected the car, and dove into the Car Settings menu. This is where you tweak suspension, diffs, downforce, all that good stuff. I poked around in there, thinking maybe under ‘Suspension’ I could un-tick the sport kit I’d installed. Nope. Again, lots of ways to adjust things, but not a clear way to just remove an installed tuning part like an exhaust or a turbo kit bought from the shop.
Figuring Out the “GT7 Way”
After a bit more fiddling, I finally got it. It’s actually done within the Car Settings menu, but it’s not a button that says “Remove Part”.
Here’s the process that worked for me:
- Go to your Garage. Pick the car you want to modify.
- Select Car Settings. This opens up the detailed tuning screen.
- Navigate to the part category. You need to go to the section that controls the part you want to remove. For example, if you want to remove a performance muffler, you’d go to the ‘Intake & Exhaust’ section, then find ‘Muffler’. If it’s suspension, go to the ‘Suspension’ section.
- Find and select the “Normal” or “Stock” part. This is the key! Within the list of available parts for that slot (like different types of exhausts, or different suspension kits), there will almost always be an option labelled “Normal” or sometimes “Stock”. This represents the original factory part.
- Equip the “Normal” part. Just click on it. This replaces the aftermarket tuning part you had installed with the car’s original part, effectively “removing” the upgrade.
So, for example, to take off a Racing Muffler I had installed:
I went into Car Settings -> found the Muffler section -> saw my installed ‘Racing Muffler’ selected -> clicked on the ‘Normal‘ option instead.
Boom. The racing muffler was off, and the car was back to its standard exhaust sound and performance for that part. The same logic applies to turbos, suspension kits, brakes, engine tuning chips, and most other performance parts bought from the Tuning Shop.
What About Body Parts / Aero?
It’s worth noting that for visual parts you install in GT Auto, like custom wings, bumpers, or wheels, the process is often a bit more direct within the GT Auto menus themselves. Often, for things like wings, there’s a specific “Remove Part” or “Return to Stock” option right there in the customization screen where you installed it.
So, performance parts from the Tuning Shop? Revert to “Normal” in Car Settings. Custom visual parts from GT Auto? Look for a remove/stock option within GT Auto.
Took me a little while to nail down the process for the tuning parts, but once you know you’re looking to re-equip the ‘Normal’ part instead of a dedicated ‘remove’ button, it makes perfect sense. Hopefully, this saves someone else the head-scratching I went through!


