
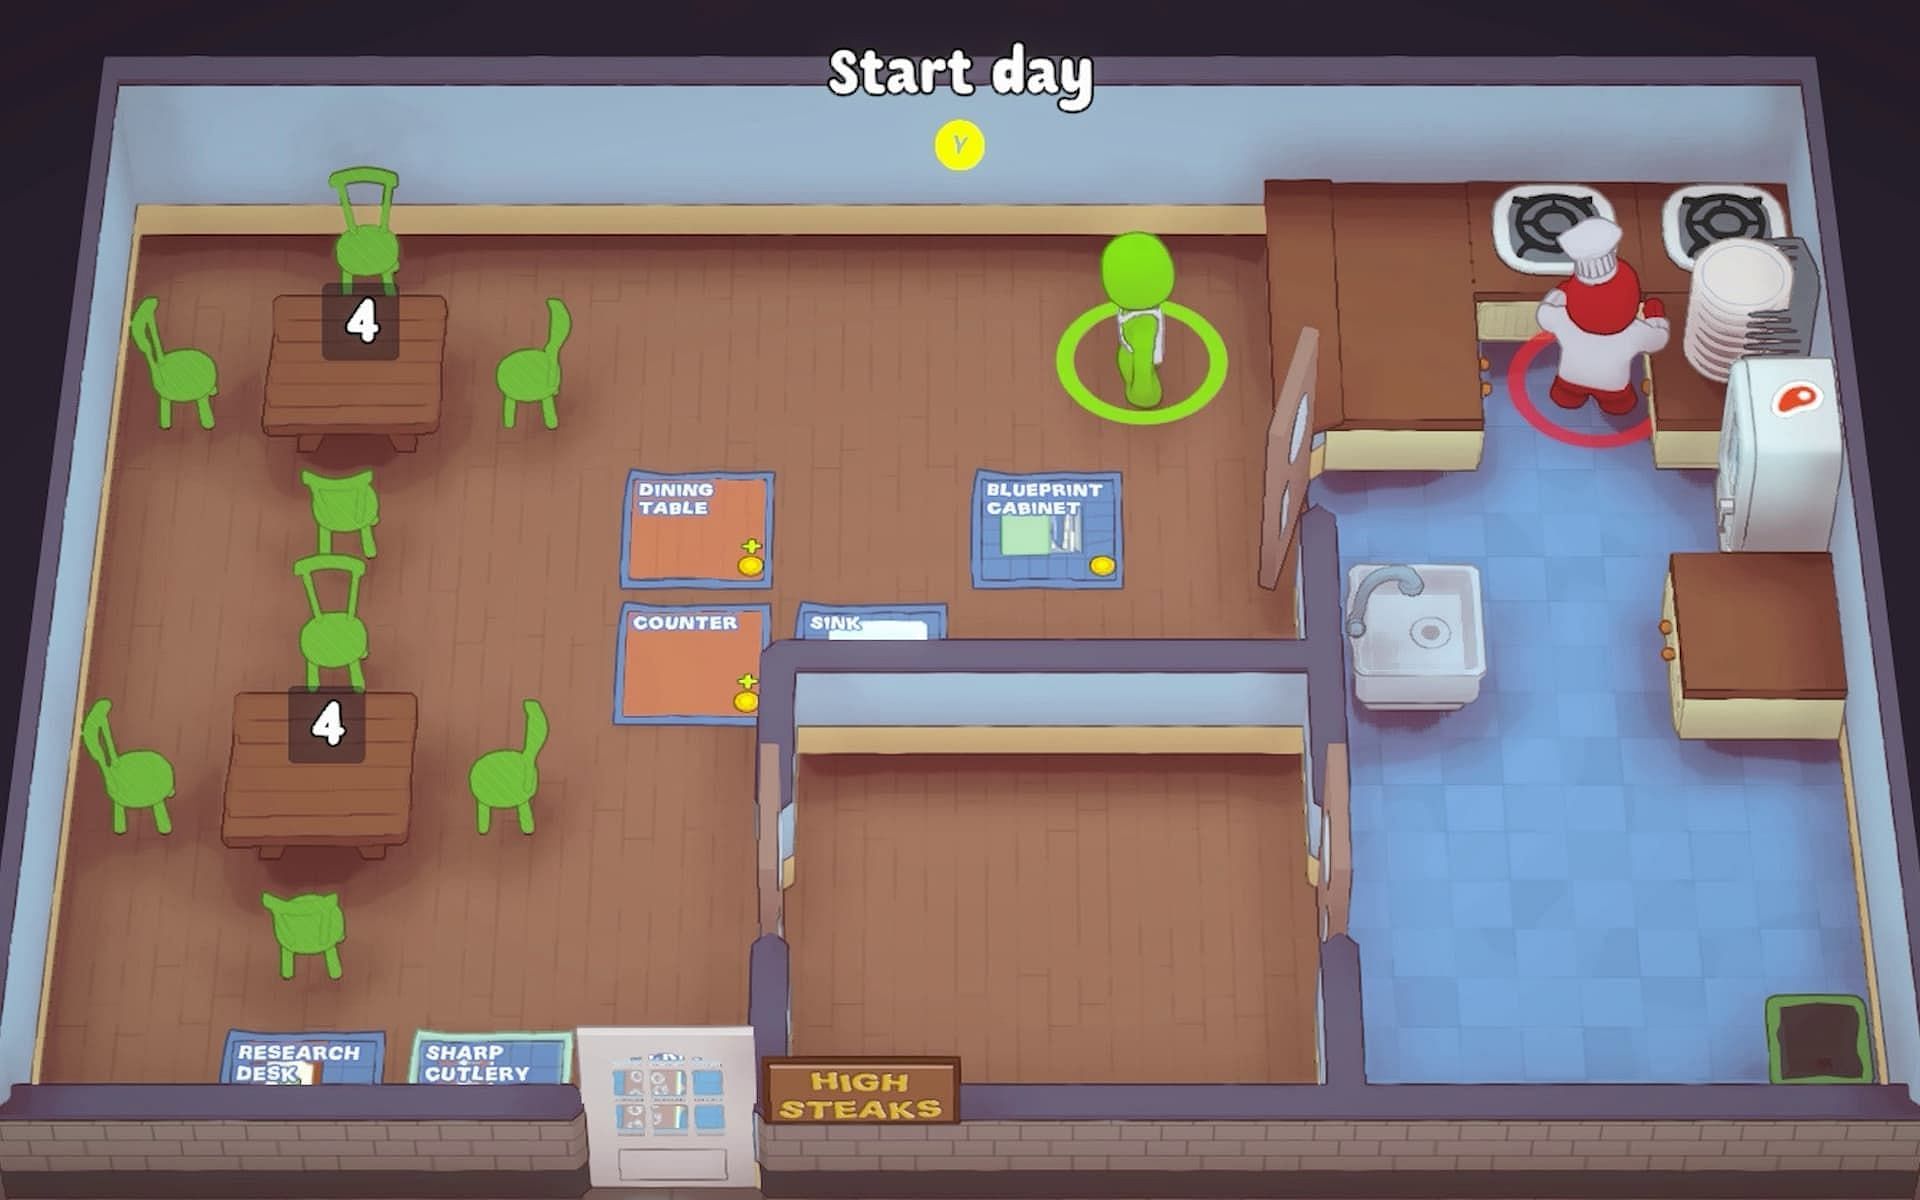
Okay, here’s my take on sharing the “research desk plate up” experience, written in a casual, personal blog style:
So, I decided my research space needed a serious upgrade. It wasn’t terrible, but it wasn’t inspiring either. It felt, I dunno, kinda blah. I was getting distracted easily, and my productivity was… well, let’s just say it wasn’t at its peak. I figured a physical change might kickstart my brain, so I went down the “research desk plate up” rabbit hole.
Phase 1: The Deep Dive (aka Pinterest Overload)
First, I started gathering ideas. I scrolled through tons of online photos. So many gorgeous desks! It was almost overwhelming. I pinned a bunch of stuff that caught my eye – different layouts, color schemes, storage solutions, the whole nine yards. I was looking for that sweet spot: something that looked good, but also felt functional and “me.”
Phase 2: Getting Real (aka Budget Check)
After the initial excitement, I had to get practical. I wasn’t about to drop a fortune on a complete overhaul. I took stock of what I already had: a decent desk, a comfy chair, some basic shelving. Then I made a list of what I really needed, versus what was just “nice to have.”
Phase 3: The Hunt (aka Where Did I Put That Measuring Tape?)
With my list and a rough budget in mind, I started hunting for the missing pieces.
- New desk organizer was the most important improvement.
- I found some cool, stackable drawers.
- I wanted to bring in a bit of greenery.
Phase 4: The Assembly (aka Putting It All Together)
I cleared everything off my desk – wow, it’s amazing how much junk accumulates! – and started with the * those set up was pretty *,I re-arranged things a little. I wanted to maximize natural light, so I moved my desk closer to the window. Small change, big difference.
Phase 5: The Finishing Touches(aka Does This Look Okay?)
Finally, the fun part: adding the personal touches. I placed the plants, strategically positioned my new lamp, and arranged my favorite books and notebooks within easy reach. I even framed a few motivational quotes (cheesy, I know, but they work!). And that was it! My research desk, all plated up and ready to go. I took a step back, admired my handiwork,and take some photos.
Honestly, the whole process was more satisfying than I expected. It wasn’t just about making my desk look prettier (although that’s a bonus!). It was about creating a space that felt organized, calm, and conducive to focused work. Now, hopefully, I can actually get some research done!


