Okay, let me walk you through how I got this vibrant starshroom done. It wasn’t exactly planned, more like one of those things that just kinda happens when you’re messing around.
Getting the Idea Rolling
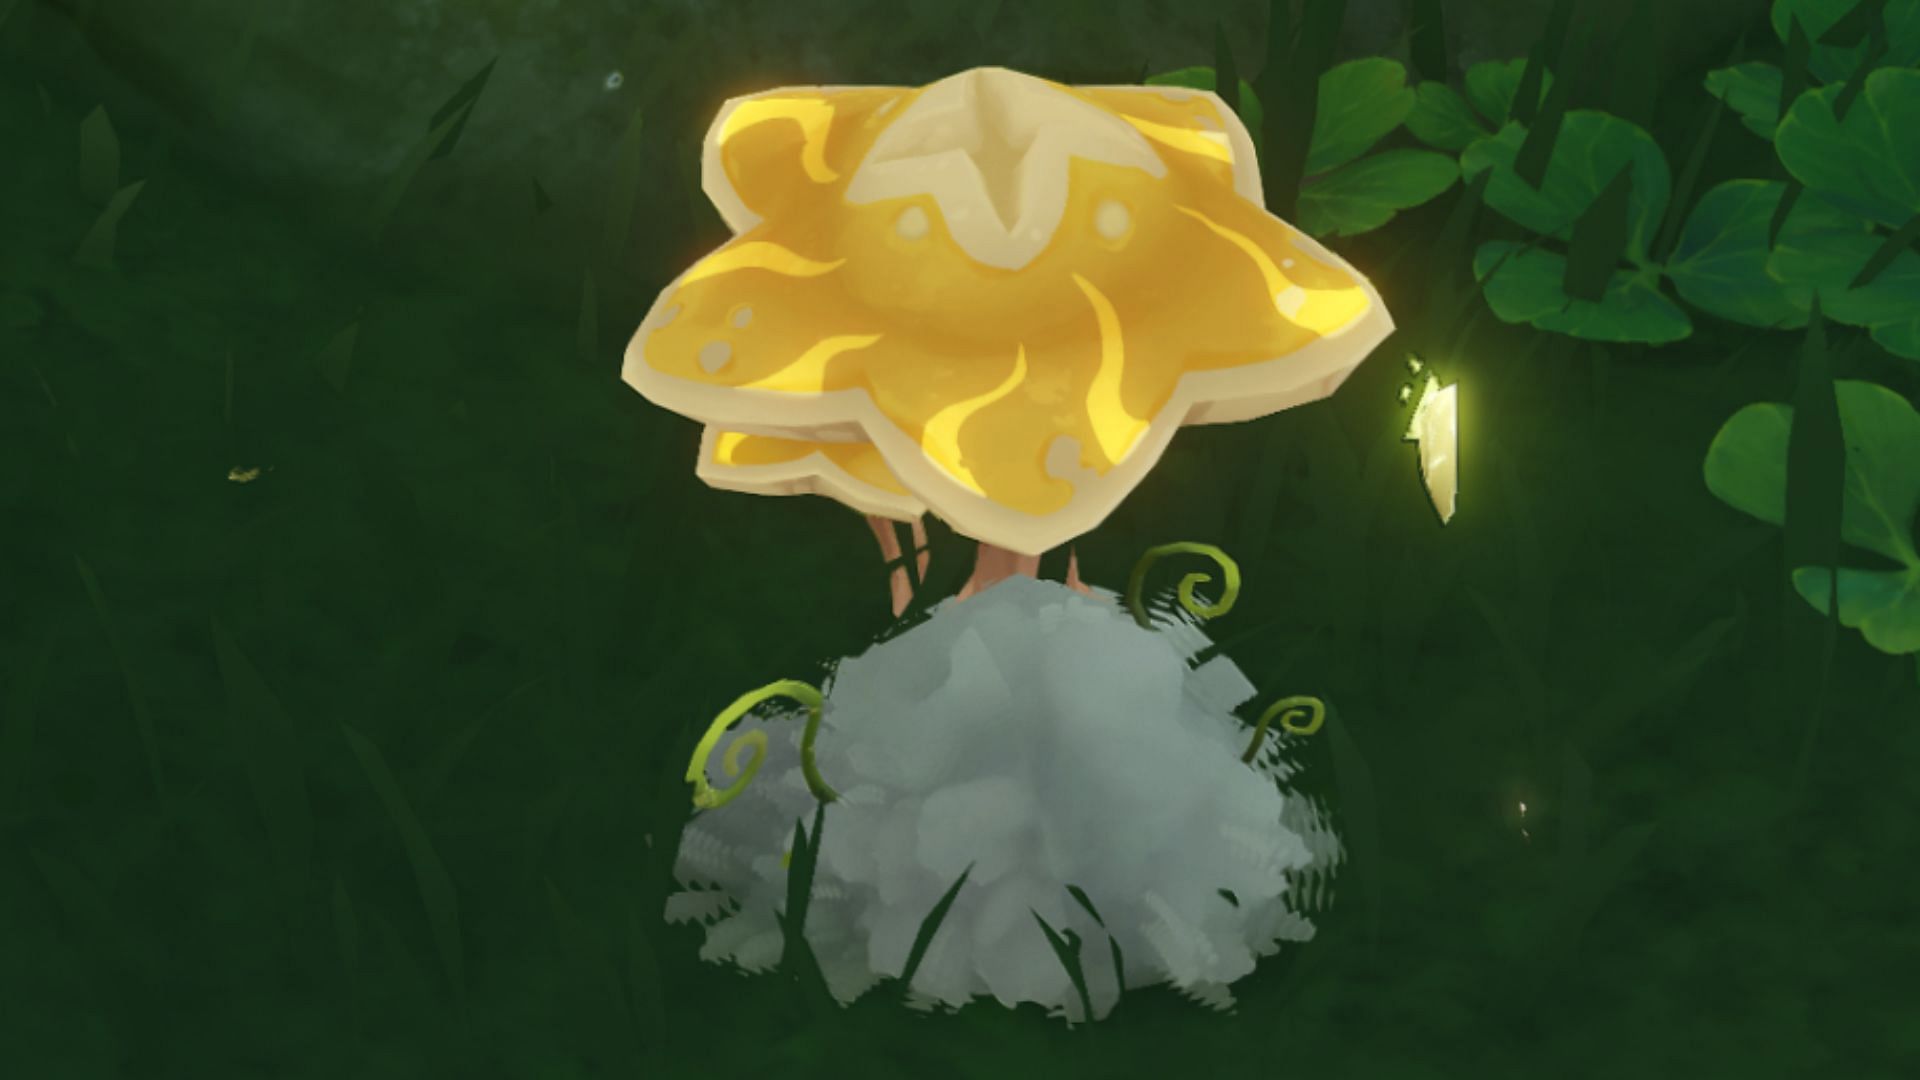
So, I was just sitting there, looking at some old project bits and pieces scattered on my desk. You know how it is. And this image of a really bright, almost glowing mushroom popped into my head. Not just any mushroom, but one that looked like it came from some weird, starry place. That’s where the ‘starshroom’ idea came from, I guess. Decided right then, yeah, I’m gonna make that.
Digging Out the Materials
First step was finding stuff to actually build it with. Didn’t want to buy anything new, trying to use up what I have. So I started rummaging through my supplies. Found:
- Some leftover air-dry clay, a bit stiff but workable.
- An old plastic bottle cap for the base maybe? Nah, too small. Found a chunk of wood instead. Better.
- Wire for the stem structure, make it stand up straight.
- My trusty set of acrylic paints. Lots of bright colors in there.
- And crucially, some glitter glue I forgot I even had. Perfect for the ‘star’ part.
Gathering all that took longer than I thought, my storage is a mess, honestly.
Building the Thing
Alright, materials secured. I started by twisting some wire into a rough stem shape and stuck it firmly into the wood base. Then I took that clay, kneaded it like crazy to soften it up – bit of a workout. Wrapped the clay around the wire stem, trying to make it look kinda organic, you know, mushroomy. For the cap, I flattened a larger piece of clay, gave it that dome shape, and carefully attached it to the top of the stem. Had to smooth the connection point a bit. Then, the boring part: waiting for the clay to dry completely. Took nearly a whole day.
Painting – The Fun Part
Once it was bone dry, I could finally paint. This is where the ‘vibrant’ bit comes in. I didn’t hold back.
Started with a base coat, maybe a light blue? Then I layered on some really intense colors for the cap – think electric blues, deep purples, even some pink highlights. Blended them sort of randomly to make it look otherworldly. Used a smaller brush to add white dots, like tiny stars, all over the cap. The stem got a lighter, slightly shimmering coat. Had to apply a couple of layers to get the colors really popping.
Final Touches
It looked pretty good, but needed that extra sparkle for the ‘starshroom’ name to make sense. That’s where the glitter glue came in. I carefully dabbed little spots of it onto the white dots and along the rim of the cap. Didn’t want to overdo it, just enough to catch the light. Let that dry too, which thankfully didn’t take as long as the clay.
And… Done!
So yeah, that’s the whole process. Stood back and looked at it. My little vibrant starshroom, sitting there on its wood base. Turned out pretty cool, actually. Bright, weird, definitely eye-catching. It wasn’t some grand project, just a spontaneous thing made from scraps, but I kinda like how it turned out. It’s sitting on my shelf now, adding a weird bit of color to the room. Job done.


