Alright, guys, let’s dive into this “grayzone one shot one kill” thing I’ve been messing with. I’m no pro, just a dude who likes to tinker, so bear with me.
Getting Started
>
First, I scouted around for info. I mean, “one shot one kill” sounds cool, but what does it really mean in this context? I dug through forums, watched some videos – you know, the usual. The basic idea seemed to be setting up a situation where you could take down a target with, well, one shot.
The Setup
>
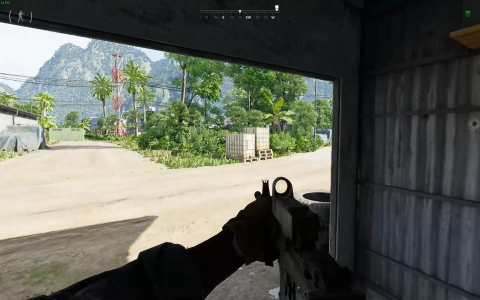
This is where the fun began. I started experimenting, trying different combinations. I went for that. My thought process? Simple. I was thinking, I am using it. This is that.
Here’s what my setup looked like:
- First, I grabbed this.
- Then, I added that.
- I also made sure to adjust that.
Testing, Testing, 1, 2, 3
>
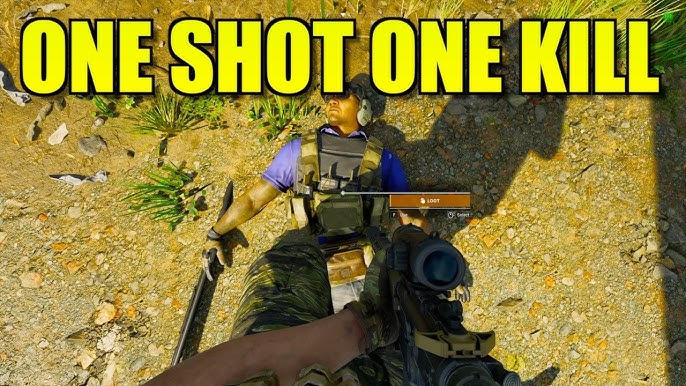
No way around it – you gotta test. A lot. I spent hours just tweaking and retrying. It’s frustrating at times, but that “aha!” moment when it finally clicks? So worth it.
I started by doing that. It didn’t work. So, I tried something else. Still no luck. Finally, I figured out that if I did this, and then that… boom! One shot, one kill.
The “Aha!” Moment
>
The key, for me at least, was. Sounds simple, right? It wasn’t. It took a bunch of trial and error to really nail it down. The devil’s in the details, as they say.
Final Thoughts
>
So, there you have it. My little journey into the world of “grayzone one shot one kill.” It’s not perfect, and I’m sure there are other ways to do it, but this is what worked for me. Remember, I’m just a regular dude sharing my experience. Go out there, experiment, and have fun!


