
Okay, so I’ve been playing Genshin Impact a lot lately. And I mean, A LOT. The world is just so beautiful, and I found myself constantly wanting to capture the scenery. So, I decided to get serious about taking screenshots. Here’s how I went about it.
Figuring Out the Basics
First, I messed around with the in-game camera. You know, the one you get from the “photo mode” in the Paimon menu.
- I played with the different angles.
- I adjusted the camera distance.
- I experimented with hiding my character.
It’s pretty good, but I wanted more control, especially over things like resolution.
Getting Rid of the UI
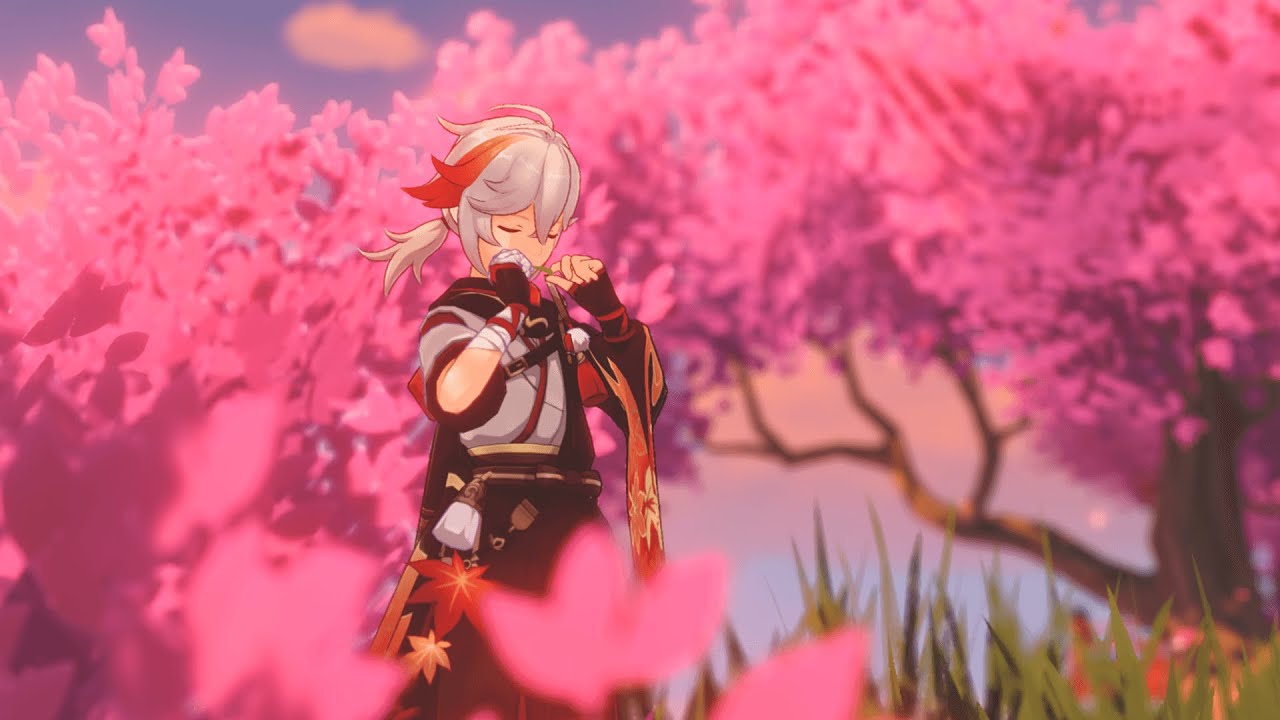
The biggest hurdle was getting rid of all the on-screen clutter. The in-game camera mostly does this, but sometimes elements still sneak in. My solution? Just good old-fashioned patience and timing.
I would wait the character go to idle status, and change the character position, find the best moment, hide the character and press “print screen” button.
PC is the way
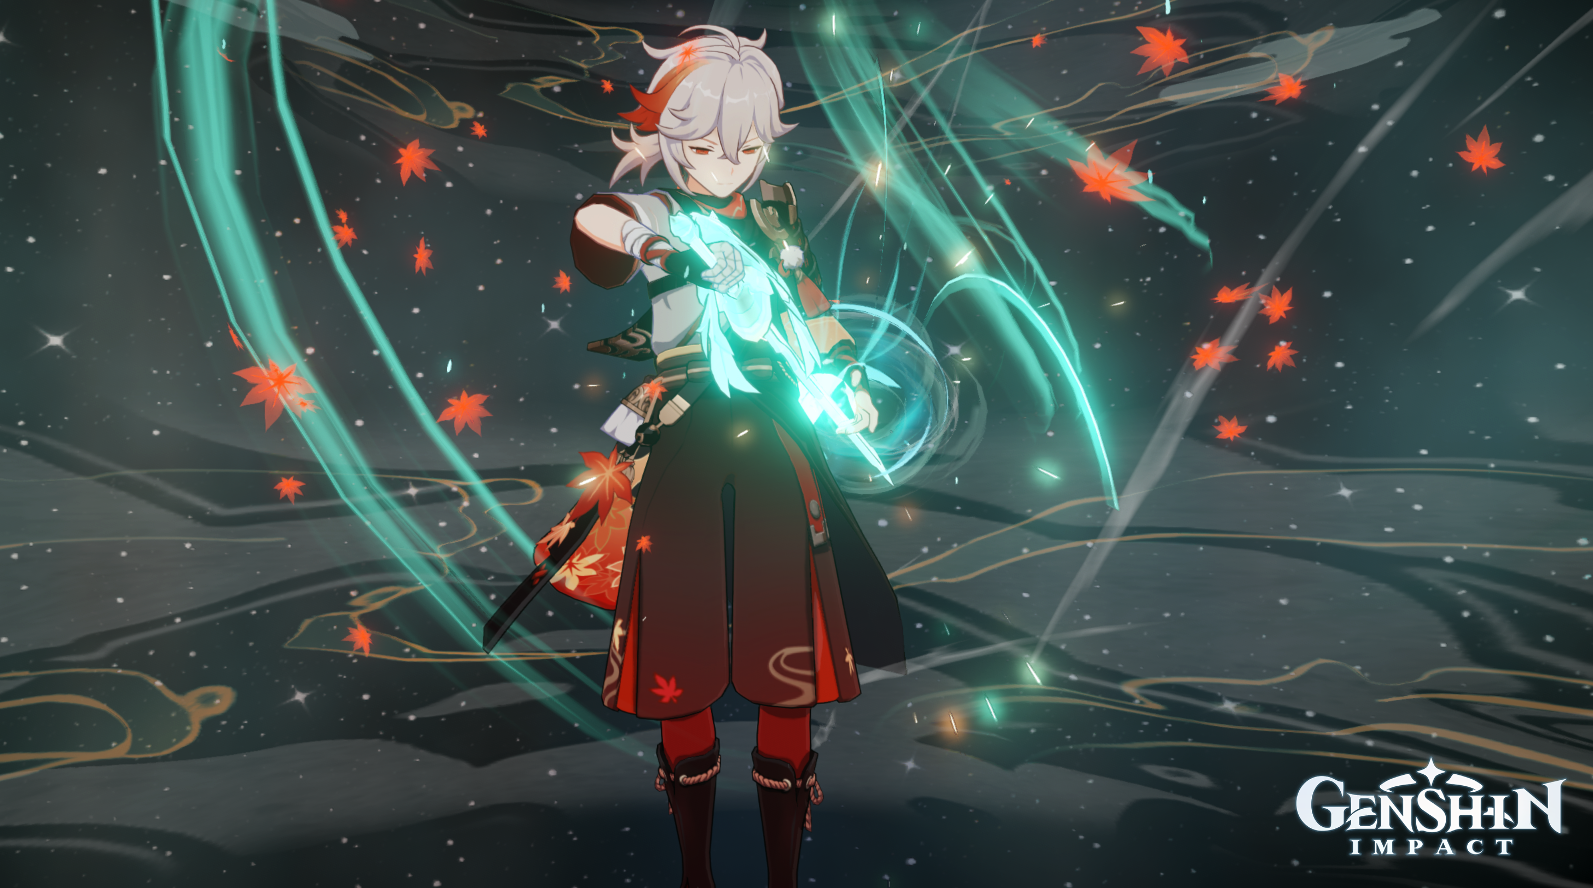
After I got some nice photos I realized that my mobile phone is not capable to get the photos with the highest resolution possible, so I decided to change my platform and installed the game in my PC.
- I noticed an improvement in the graphics.
- I discovered the PC version is more user friendly.
- I realized i can press the “print screen” button and save the image directly.
Editing (Just a Little!)
Finally, I popped some of my best shots into a basic photo editor. Nothing fancy, just GIMP, which is free. Mostly, I just:
- Cropped them a bit to get the framing just right.
- Adjusted the brightness and contrast a tiny bit.
I didn’t want to overdo it, just enhance what was already there.
And that’s it! It’s not rocket science, but I’m pretty happy with how my Genshin screenshots are turning out. It’s all about exploring the world, finding those perfect moments, and knowing your tools, even if the tools are super basic.


