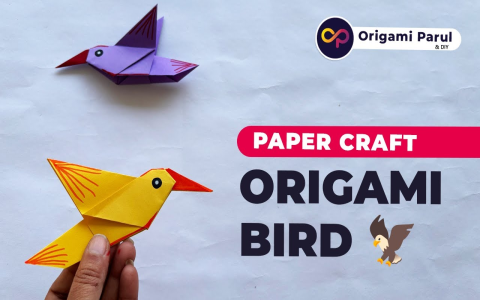
Okay, so I’ve been seeing these awesome origami birds all over Pinterest and Instagram, and I finally decided to give it a shot. The ones I wanted to make were called “radiant feldspar origami birds,” which, honestly, sounded super fancy and intimidating. But hey, I’m always up for a crafting challenge!
First things first, I needed to find some instructions. I mean, I’ve folded a paper crane or two in my time, but “radiant feldspar”? That’s a whole new level. I did a quick search and found a few tutorials, some video, some with just diagrams. I ended up going with a diagram one because I like to take my time and pause whenever I want to.
Next up, the paper. The tutorials all suggested using this special, iridescent paper to really get that “radiant” effect. Sounded good to me! I found some at a local art store. They had different colors. I grabbed a few sheets, just in case I messed up (which, let’s be real, was highly likely).
Getting Started (and Messing Up)
I cleared off my kitchen table, put on some music, and got to work. The first few folds were pretty basic – the usual stuff you do when you’re starting any origami project. But then… things got complicated. There were mountain folds, valley folds, reverse folds… my brain started to hurt.
- Attempt #1: Total failure. I ripped the paper about halfway through.
- Attempt #2: Slightly better, but it ended up looking more like a crumpled ball than a bird.
- Attempt #3: I started to get the hang of it! The folds were still tricky, but I was making progress.
It took me a solid hour, and several frustrated sighs, but I finally finished my first bird! It wasn’t perfect, not by a long shot. The wings were a little uneven, and the head was kind of wonky. But you know what? It was my wonky bird, and I was proud of it.
The “Radiant” Reveal
The cool thing about the iridescent paper is that it catches the light in all these different ways. When I held my little bird up to the window, it actually did look kind of radiant! The colors shifted and shimmered. It was pretty magical, even if the bird itself was a bit… rough around the edges.
I ended up making a few more birds, experimenting with different colors of paper. Each one got a little bit better. I wouldn’t say I’m an origami master now, but I definitely learned a lot. And I have a flock of slightly imperfect, but totally charming, radiant feldspar origami birds to show for it!
My biggest piece of advice? Don’t give up! It might take a few tries (or a lot of tries), but it’s really satisfying when you finally figure it out. And the shiny paper really does make a difference. Go on give it a try. Good luck!


